Ok now the undercoating was removed and it was time to adress the dings and dents all over the fenders. Started to sand of some of the color to get a visual view of where the high and low spots where located. Remember this is the very first time I am trying sheet metal dent repair, so be patient with me ;-)


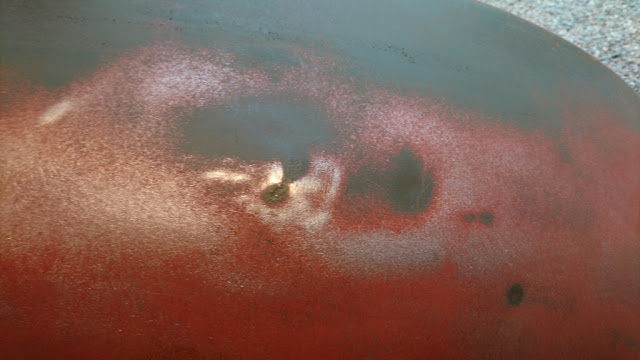
Here we have a pretty smooth low spot that I started out with.

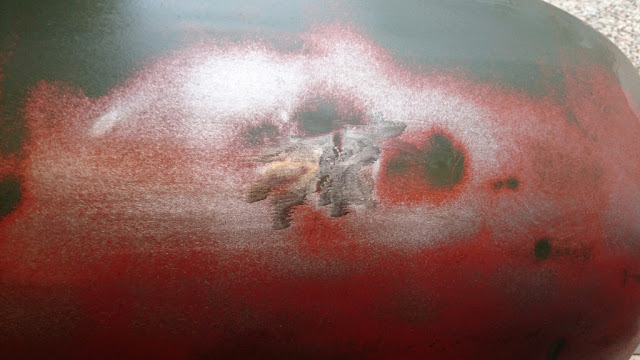
After a few minutes with a hammer and dolly I had gotten it this far, but I realized it was a bit harder to work in a confined space with sharp edges just beside the dent itself to I let this one rest for a moment and choosed a nother dent on a flat surface, that I could practice on.

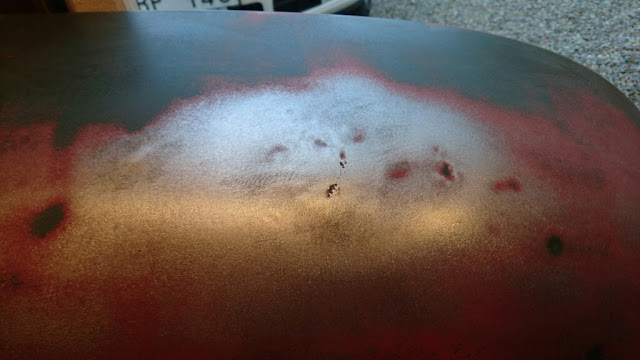
Here we got a few dents. I started working on the sharp dent in the middle (right or wrong? no idea)
Got some of the sharp areas out.

Just a bit more
Now I felt that I hade a slight dent pointing outwards, time for the shrinking disc and some water in a spraycan. I also used some hammer off dolly on the green adjecent inward dents
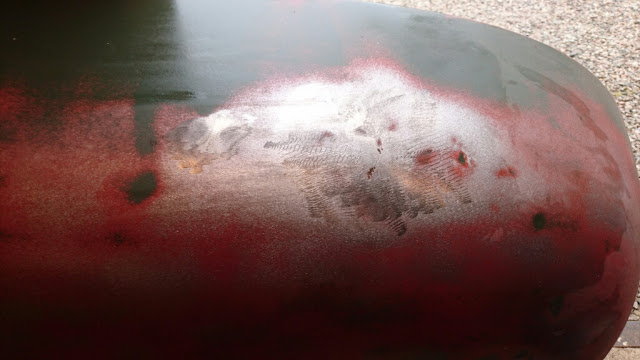
Got the green areas out and then put some shrinking disc on all the high spots. Got them done but its hard to feel with the hand over the surface detecting high and low spots when thir are areas with different surface finish, (sanding and shinking disc). So I went over it with the sander one more time to even out the surface finish and see what leftovers there are from the high and low spots.
I am not quite there yet, but it´s a lot better then when I started
No comments:
Post a Comment